
Walk-in showers have become one of the most popular bathroom upgrades for good reason. They can make a bathroom feel larger, look more modern, and improve everyday comfort and accessibility. Whether you are remodeling a small bathroom or planning a complete primary suite renovation, understanding the basics of walk-in shower installation can help you make better decisions and avoid costly mistakes.
Why Choose a Walk-In Shower?
A walk-in shower offers a clean, open look that works well in bathrooms of almost any size. Unlike traditional tub-and-shower combinations, walk-in showers create a more seamless layout and can be customized to fit your space, style, and mobility needs.
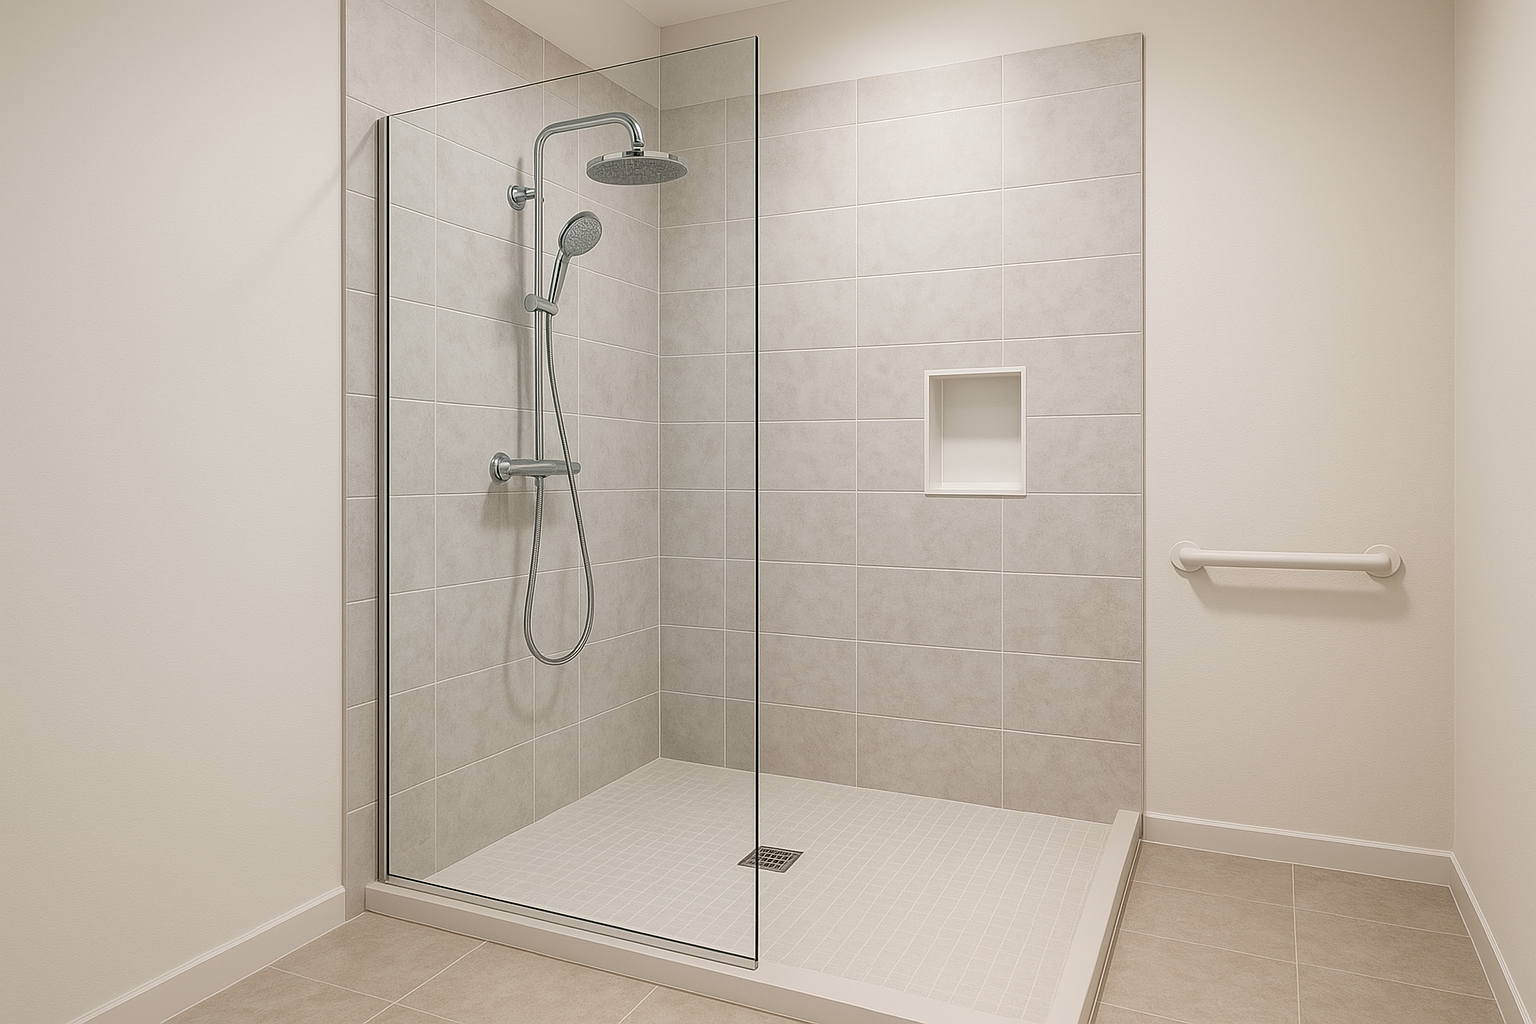
Many homeowners choose a walk-in shower for practical reasons. They are easier to enter and exit, simpler to clean, and often more comfortable for aging-in-place design. They also allow for creative features such as built-in benches, niche shelving, rainfall showerheads, and frameless glass enclosures.
Benefits of a Walk-In Shower
- Better accessibility: Low thresholds or curbless designs make entry easier.
- Modern appearance: Sleek lines and glass panels can make a bathroom feel larger.
- Easy maintenance: Fewer edges and seams can reduce cleaning time.
- Customization: You can choose tile, fixtures, glass, lighting, and storage to suit your preferences.
- Added home value: A well-designed bathroom upgrade can appeal to future buyers.
Planning Your Walk-In Shower Installation
Good planning is the foundation of a successful installation. Before any demolition begins, take time to evaluate your bathroom layout, plumbing, and budget. A shower that looks great on paper should also function well in daily use.
Measure the Space Carefully
Accurate measurements are essential. The size of your bathroom will affect the shower footprint, door placement, drain location, and whether you can include features such as a bench or extra storage. In smaller bathrooms, a corner walk-in shower may be the best fit. In larger spaces, a spacious open shower can become the focal point of the room.
Consider Water Containment
One of the most important parts of walk-in shower installation is controlling water. Depending on the design, you may need a partial wall, glass panel, or full enclosure to keep water from splashing into the rest of the bathroom. Drain placement, floor slope, and showerhead position all play a role in performance.
Choose the Right Shower Style
There are several common styles to consider:
- Curbed walk-in shower: Includes a small raised threshold to help contain water.
- Curbless shower: A more accessible option that creates a smooth transition from the bathroom floor.
- Frameless glass enclosure: Offers a clean, open look with minimal hardware.
- Open-concept shower: Uses one or more fixed panels without a full door.
Key Steps in the Installation Process
While each project is different, most walk-in shower installations follow a similar series of steps. Hiring a qualified contractor is often the best way to ensure the job is done safely and correctly, especially when plumbing, waterproofing, and tile work are involved.
1. Demolition and Preparation
The existing tub, shower, flooring, or wall material is removed to make space for the new shower. During this stage, the contractor checks for any hidden issues such as water damage, mold, or outdated plumbing that need to be addressed before installation continues.
2. Plumbing Adjustments
If the drain, shower valve, or water lines need to be relocated, this is done next. Proper plumbing setup is critical for good drainage, reliable water pressure, and long-term performance. This step is especially important if you are switching from a bathtub to a shower or changing the shower layout.
3. Waterproofing
Waterproofing is one of the most important parts of the project. A shower must be sealed properly behind the tile or wall surface to prevent leaks and structural damage. This usually includes a waterproof membrane, sealed seams, and careful attention to corners, niches, and the shower floor.
4. Shower Base and Wall Installation
Next comes the shower pan or tiled floor system, followed by wall backing and tile installation. The floor must be sloped correctly toward the drain so water flows away efficiently. Wall tile, stone, or other surface materials are then installed to complete the shower enclosure.
5. Glass, Fixtures, and Finishing Touches
Once the main structure is complete, the final elements are added. These may include shower doors or glass panels, trim pieces, shelving, grab bars, shower fixtures, and a showerhead. Caulking and sealing are completed at the end to help protect the finished installation.
Design Features Worth Considering
Walk-in showers are highly customizable, so it helps to think beyond the basics. The right design features can improve comfort, convenience, and aesthetics.
Built-In Storage
Recessed niches, corner shelves, and built-in ledges keep toiletries organized without taking up extra room. These details also contribute to a cleaner, more streamlined appearance.
Shower Bench
A bench can make the shower more comfortable and practical. It provides a place to sit, shave, or store items while also supporting accessibility needs.
Lighting and Ventilation
Good lighting helps the space feel bright and inviting. Ventilation is just as important, since it helps control moisture and reduce the risk of mildew. If your bathroom does not already have strong airflow, consider upgrading the fan during the renovation.
Common Mistakes to Avoid
Even a beautiful shower can become frustrating if the installation is poorly planned. A few common mistakes can lead to leaks, poor drainage, or an awkward layout.
- Skipping professional waterproofing: This can cause long-term damage behind the walls and floor.
- Ignoring bathroom ventilation: Excess moisture can lead to mold and odors.
- Choosing the wrong enclosure: A design that looks good may still allow too much water to escape.
- Overlooking accessibility: Threshold height, grab bar placement, and bench height should all be considered early.
- Underestimating the budget: Plumbing changes, tile work, and glass installation can add to the total cost.
Conclusion
Walk-in shower installation is a valuable upgrade that can improve both the look and function of your bathroom. With careful planning, proper waterproofing, and thoughtful design choices, you can create a shower that is stylish, durable, and comfortable to use for years to come. If you are considering this type of remodel, working with an experienced professional can help ensure every detail is handled correctly from start to finish.